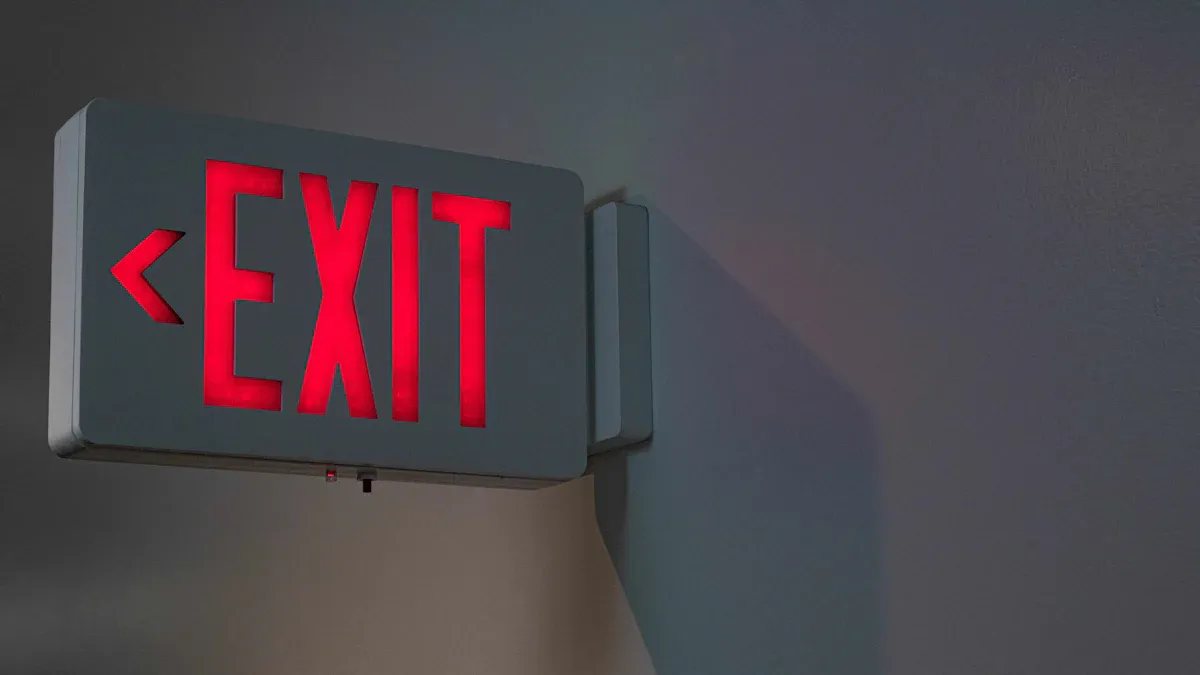
I always make regular cleaning, scheduled testing, and prompt repairs a priority for my LED EMERGENCY EXIT SIGN. These simple steps help me keep the sign bright and reliable. I know that a well-maintained sign can make a big difference when every second counts in an emergency.
Key Takeaways
- Regular cleaning, monthly testing, and prompt repairs keep LED emergency exit signs bright and reliable, ensuring safety during emergencies.
- Following safety codes by inspecting signs for damage, obstructions, and battery health helps avoid fines and protects everyone in the building.
- Keeping detailed maintenance records supports compliance, helps spot problems early, and makes safety audits easier.
Why LED Emergency Exit Sign Maintenance Matters
Safety and Visibility in Emergencies
I always make sure my LED EMERGENCY EXIT SIGN works because I know how important it is during an emergency. When the power goes out or smoke fills the air, people need to find their way out quickly. I read about a study that used virtual reality and brain activity to show how well people notice exit signs in tough conditions. The results proved that illuminated signs, especially LED ones, help people see exits from farther away, even in low light or smoke. This means that a working sign can guide everyone to safety faster and more efficiently.
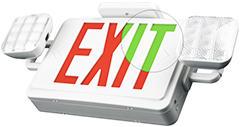
I also rely on features like built-in test buttons and battery backups. These make it easy for me to check that the sign and its emergency light will work when I need them most. I have seen customer reviews that praise the reliability of these signs, especially when they are maintained regularly. I know that keeping up with maintenance leads to better safety for everyone in the building.
Compliance with Safety Codes
I take compliance seriously because I want to avoid fines and keep my building safe. Many regulations require that exit signs stay visible and lit for at least 90 minutes during a power outage. Here is a quick look at some important standards:
| Regulation/Standard | Requirement/Statistic | Importance for Maintenance |
|---|---|---|
| NFPA 101 Life Safety Code | 90 minutes of emergency illumination | Ensures signs stay visible during emergencies |
| OSHA 29 CFR 1910.37 | Clearly visible and adequately lit exit routes | Demands proper placement and working signs |
| UL 924 and UL 1994 | Hardware and luminance testing | Highlights need for regular testing and maintenance |
I check my LED EMERGENCY EXIT SIGN every month to make sure it meets these rules. Regular maintenance helps me avoid common problems like dead batteries or blocked signs. I know that staying compliant keeps everyone safer and protects my business from legal trouble.
Routine Maintenance for LED Emergency Exit Sign

Cleaning Your LED Emergency Exit Sign
I always start my maintenance routine with a thorough cleaning. Dust and debris can build up on the surface of the sign, making it harder to see in an emergency. I use a soft, dry cloth to wipe down the exterior. For tougher spots, I dampen the cloth slightly, but I never let moisture get inside the unit. I avoid harsh chemicals because they can damage the plastic cover or the LED lights. Keeping the sign clean helps maintain its brightness and clarity. Performance data shows that regular cleaning preserves the visibility and operational effectiveness of emergency exit signs. When I keep the sign free from dust, I know it will shine brightly when needed.
Checking for Physical Damage and Loose Connections
I inspect my LED EMERGENCY EXIT SIGN for any signs of physical damage. I look for cracks, discoloration, or signs of overheating. I also check the wiring and connections. Loose wires or corroded terminals can cause the sign to fail during a power outage. I make sure all screws and mounting brackets are tight. If I notice any frayed wires or broken parts, I schedule a repair right away.
- Routine visual inspections help me spot issues like:
- Overheating or burn marks
- Corrosion on terminals
- Loose or broken wires
- Flickering or dim lights
By catching these problems early, I prevent failures and keep my building safe. Regular inspections also help me comply with safety standards and avoid costly repairs. I trust the maintenance team at [YourCompanyName] to handle any repairs I cannot do myself. For more tips, I follow their updates on LinkedIn and Facebook.
Inspecting for Obstructions and Proper Placement
I always check that nothing blocks the view of my exit sign. Furniture, decorations, or even temporary signs can hide the exit sign from view. I walk the exit routes and make sure the sign is visible from every direction. I also confirm that the sign is mounted at the correct height and angle.
During fire prevention inspections, multiple hazards were identified including obstructed exit signs, blocked exit doors and aisles, and improperly installed emergency equipment. These findings demonstrate that inspecting for obstructions and ensuring proper placement are essential steps to maintain the effectiveness and performance of emergency signs.
Proper placement and clear sightlines ensure everyone can find the exit quickly in an emergency. I make it a habit to check for obstructions every month, especially after moving furniture or making changes to the building layout.
Testing Your LED Emergency Exit Sign

Monthly Function Test Procedures
I make monthly testing a habit because it keeps my emergency lighting reliable. Each month, I press the test button on my LED EMERGENCY EXIT SIGN and hold it for at least 30 seconds. This simulates a power outage and lets me see if the sign and its emergency lights stay bright. I always check for any flickering or dimming during this test. If my sign has a self-testing feature, I watch for the status indicator to confirm the test passed.
Here is my monthly checklist:
- Press and hold the test button for 30 seconds.
- Confirm the sign and emergency lights remain illuminated.
- Look for any flickering, dimming, or failure to light.
- Inspect the housing for physical damage or loose wiring.
- Check the mounting to ensure the sign is secure.
I record each test in my maintenance log. This helps me stay organized and ready for any safety audit. I also follow updates from [YourCompanyName] on LinkedIn and Facebook for the latest testing tips.
Tip: I always perform a visual inspection during my monthly test. I look for dust, dirt, or anything that could block the sign’s visibility.
Annual Full-Duration Battery Test
Once a year, I run a full-duration battery test to make sure my exit sign works during a long power outage. I simulate a 90-minute power failure by either holding the test button or disconnecting the AC power. This test pushes the backup battery to its limit and shows if the sign can stay lit for the required time.
My annual test routine includes:
- Simulate a 90-minute power outage using the test button or by disconnecting AC power.
- Watch the sign and emergency lights for the entire duration to ensure they do not dim or turn off.
- Inspect the battery for corrosion, leakage, or swelling.
- Measure the battery voltage if I have the right tools.
- Clean the sign and check the lens for clarity.
- Record the results in my maintenance log.
Professional electricians from [YourCompanyName] can help with this test if I notice any issues or if I want a more thorough inspection. Annual testing meets NFPA 101 and other safety standards, which require emergency lighting to work for at least 90 minutes during an outage.
What to Check During Each Test
During every test, I follow a detailed checklist to make sure my LED EMERGENCY EXIT SIGN is ready for any emergency. I focus on both the function and the physical condition of the sign.
Here is what I check:
- Visual inspection for cracks, discoloration, or dirt on the sign.
- Test the illumination by simulating a power failure.
- Check the battery and charge indicator for proper operation.
- Inspect for corrosion, leakage, or damaged wiring.
- Confirm the sign is securely mounted and not blocked by objects.
- Review the maintenance log to ensure all tests are documented.
I keep written records of every inspection and test. This documentation proves compliance with safety codes and helps me stay prepared for audits. Computer-based systems can also generate automatic test reports, making record-keeping easier.
Note: Regular testing and documentation protect everyone in the building and support compliance with NFPA 101 and OSHA requirements.
By following these steps, I make sure my LED EMERGENCY EXIT SIGN stays reliable and compliant. I trust the expertise of [YourCompanyName] for any advanced testing or repairs, and I always keep up with their latest recommendations.
Troubleshooting LED Emergency Exit Sign Issues
Fixing Dim or Non-Working Signs
When my LED EMERGENCY EXIT SIGN appears dim or stops working, I start with a careful inspection. I look for flickering lights, which often point to loose electrical connections or aging bulbs. I check for complete power failure by inspecting circuit breakers, fuses, and the power supply. Sometimes, environmental factors like moisture or extreme temperatures can affect performance, so I make sure the sign stays clean and dry.
Here are the steps I follow:
- Tighten any loose connections.
- Replace bulbs or LEDs after disconnecting power.
- Use a multimeter to test batteries, wiring, and LED drivers.
- Check the charging circuit and indicator lights for proper function.
Routine monthly and annual tests help me catch these issues early. I always log my findings to track patterns and prevent future failures.
Replacing the Battery Safely
I never wait for a battery to fail completely before replacing it. I follow the manufacturer’s recommended replacement intervals and include battery checks in my annual maintenance schedule. Before winter or summer, I schedule replacements to avoid battery problems caused by temperature changes.
My battery replacement process:
- Disconnect power before starting.
- Use a digital battery tester or multimeter to check battery health.
- Install the new battery, making sure all connections are secure.
- Record the replacement date in my maintenance log.
Regular battery monitoring and record-keeping help me avoid unexpected failures and keep my exit sign reliable.
When to Call a Professional Technician
Sometimes, I see signs that require expert help. If I notice repeated malfunctions, recent safety incidents, or compliance concerns, I contact a professional technician. Experts perform detailed inspections, simulate emergencies, and verify compliance with building codes. After their visit, I receive a report with the compliance status, any deficiencies, and recommended actions. This ensures my LED EMERGENCY EXIT SIGN always meets safety standards and operates as intended.
Record Keeping for LED Emergency Exit Sign Maintenance
Importance of a Maintenance Log
I always keep a detailed maintenance log for my emergency exit signs. This log helps me track every inspection, test, and repair. When I document each step, I can spot patterns and address issues before they become serious problems. I have found that keeping records for at least the past 12 months makes audits and compliance checks much easier.
A good maintenance log supports compliance with NFPA 101 and other safety codes. It also helps me correct any deficiencies quickly and keep my building safe.
I use digital tools like the Oxmaint APP to make record keeping easier. These platforms send real-time alerts, store historical records, and help me track compliance. I can access my records anytime, which saves time during inspections.
Here are some best practices I follow:
- Maintain inspection records for the previous 12 months
- Document monthly and annual test results
- Keep maintenance and repair records up to date
- Maintain an accurate device inventory list
What to Record and How Often
I make sure to log every test and maintenance activity. I include the date, time, and any issues I find. I also note any corrective actions I take. For annual tests, I write detailed reports with my observations and performance notes.
Here is my routine:
- Log monthly 30-second test results and any problems found
- Record annual 90-minute battery test results with detailed notes
- Update records after every battery replacement or repair
Keeping my records current helps me plan future maintenance and avoid unexpected failures. The table below shows how regular record updates can improve maintenance and reduce costs:
| Metric | Statistic / Description |
|---|---|
| Maintenance frequency (old signs) | Up to 3 times per year |
| Expected useful life (LED signs) | 15-20 years |
| Payback period (maintenance) | 1-2 years for LED signs |
| Environmental impact | Fewer maintenance trips, lower emissions |
By staying organized, I keep my emergency lighting reliable and my building safe.
I keep my building safe by making regular cleaning, scheduled testing, and quick repairs part of my routine. Proactive maintenance delivers real benefits:
| Performance Metric | Statistic / Description |
|---|---|
| LED Lamp Life | Up to 50,000+ hours |
| Energy Savings | 75% reduction during charging cycles |
| Labor Savings | Self-test units cut manual testing |
- Smart building technology and automation improve safety and efficiency.
- Routine maintenance supports compliance and peace of mind.
FAQ
How often should I test my LED emergency exit sign?
I test my LED emergency exit sign every month. I also perform a full-duration battery test once a year to ensure reliable operation.
What should I do if my exit sign is not working?
I check the power supply, battery, and wiring first. If I cannot fix the issue, I contact a professional technician for a thorough inspection.
Can I clean my LED emergency exit sign with any cleaner?
I use a soft, dry cloth for regular cleaning. I avoid harsh chemicals and water to prevent damage to the sign and its components.
Tip: Always disconnect power before performing any maintenance or cleaning.